Labels are short coloured tags you put on tasks to mark a type, a topic or a status that does not fit a stage. Labels belong to a single board, so each board has its own set.
Starter labels
Boards created from a template come with labels already in place. For example the Sales template adds Hot, Warm and Cold, and the Bugs template adds Critical, Minor and Enhancement. See Templates for each list.
Manage labels
- Open the board and click Labels in the header. This button is shown to people who can edit the board.
- To add one, type a Label name, choose a Color and click Create.
- Existing labels are listed in the same popover. If there are none it says “No labels yet.”
Put a label on a task
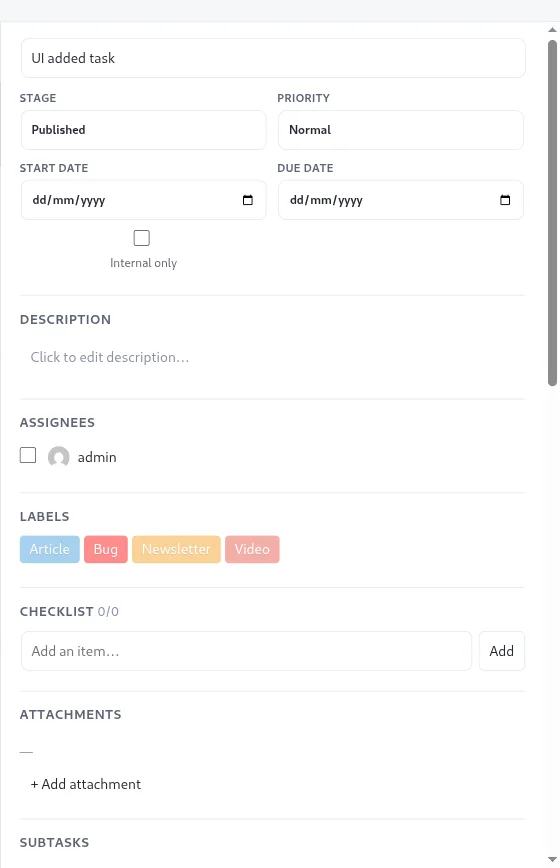
Open the task by clicking its card. In the labels section of the task panel, each label on the board shows as a coloured chip. Click a chip to turn it on or off for that task. Labels appear on the card as small chips above the title and as a column in the Table view.
Filter by label
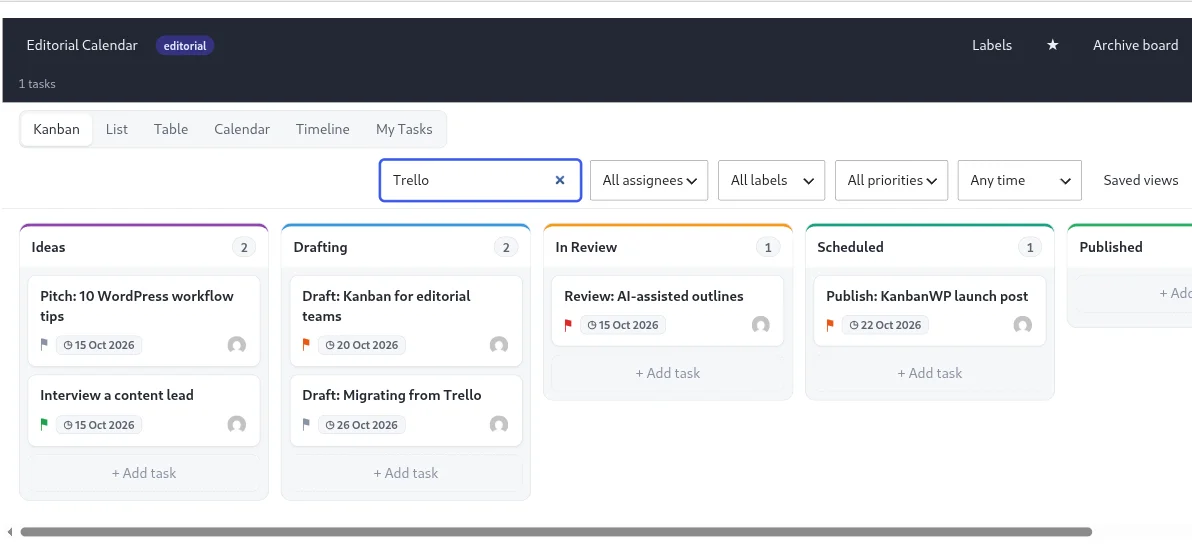
The Label dropdown in the filter bar lists every label on the board, plus All labels. Pick one and every view shows only tasks that carry it. Combine it with the other filters, for example Label = Critical and Due = Overdue. Save the combination as a view if you use it often. See Saved views.
Tips
- Keep the set small. Five to eight labels is easier to scan than twenty.
- Use labels for what a task is, and stages for where it is in the process.
- Pick colours with enough contrast, because the label name is written inside the chip.
- Duplicating a board copies its labels and keeps them attached to the copied tasks.